How to Add keyframe in CapCut method-1
Keyframes are essential to keyframe capcut video editing since they allow for smooth animations and transitions between various visual effects. Keyframes can be used in projects with CapCut, one of the most popular video editing systems. You can make dynamic animations and alter the motion of objects or elements in your film by adding keyframes in CapCut.

Where is the keyframe in capcut?
A keyframe is a crucial editing feature in CapCut that enables you to manage and produce animated effects inside of your video clips. A keyframe capcut designates a certain point in time in your video where specific characteristics or features of an object or element can be defined. You may produce seamless transitions, movements, or changes in properties, which will result in dynamic and interesting animations by setting keyframes at various points in your video.
A step-by-step tutorial for adding keyframes in CapCut is provided here:
Open CapCut
Open the CapCut app on your smartphone.
Start a New Project
Open an existing project or start a new one where you want to add keyframes capcut.
Add Media to Timeline
By hitting the “+” or “Import” button and selecting the media from your device’s gallery, you may add your video clip or photograph to the timeline.
Select the Media
The timeline is at the bottom of the screen; drag and drop the material there.
To choose a media clip from the timeline, tap on it. On the screen, several editing choices will start to surface.
Access Keyframes
Tap the “Keyframes” button to add keyframes capcut. Among the editing tools, it is often symbolized by a diamond-shaped icon or a clock icon.
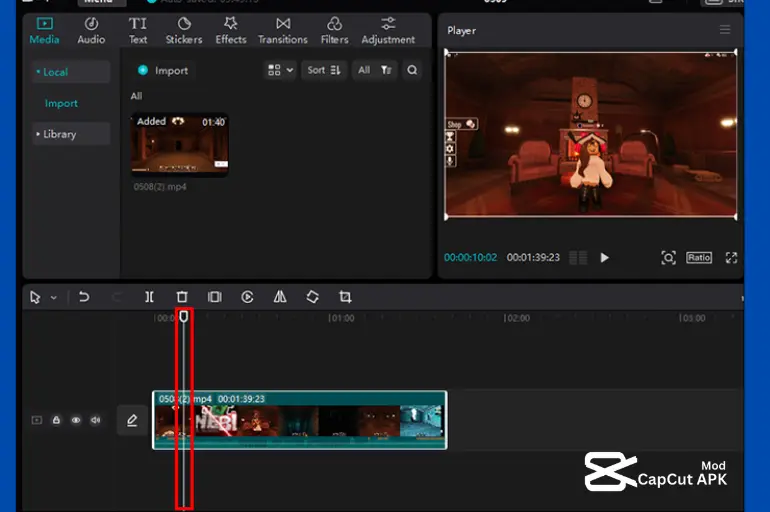
To start the animation, move the playhead (the white vertical line) to the desired location in your movie. Next, click “Add Keyframe” on the toolbar. At the current playback position, a keyframe is created by this action.
How to keyframe on capcut?
You can now modify the media’s characteristics, including position, rotation, scale, opacity, and more, with the first keyframe in place. Tap on the keyframe capcut you’ve added to do this. You can modify the parameters using the menu that appears, which has a variety of editing choices.
Add More Keyframes: To continue creating animations, move the playhead to a new location in your video where the media should have a new position or attribute.
Tap the “Add Keyframe” button one more when you get there. To manage how the media changes over time, you can add a number of keyframes capcut.
How to View keyframe in capcut?
Make any necessary changes to the media’s properties for each keyframe you’ve inserted. These modifications will produce the animation effect between keyframes.
In the preview box, tap the “Play” button to see how your animation appears. You can then tweak your keyframe modifications until you get the desired result.
Save Your Project
Make sure to save your project whenever you’re happy with your animation sequence.
Export Your Video
Tap the export or save option to export your altered video. Select the preferred video settings, then save the file to your device or immediately post it to social media.
Conclusion
An effective tool for producing engaging animations and boosting your video editing projects is adding keyframes in CapCut. You can take control of the motion and attributes of media elements in your videos by following the instructions provided in this article, creating dynamic and eye-catching animations. Play around with keyframes to unleash your creativity and add seamless transitions and unique effects to your videos. With little experience, you’ll become an expert at using this function and improve the caliber of your CapCut video editing projects.

